Introduction
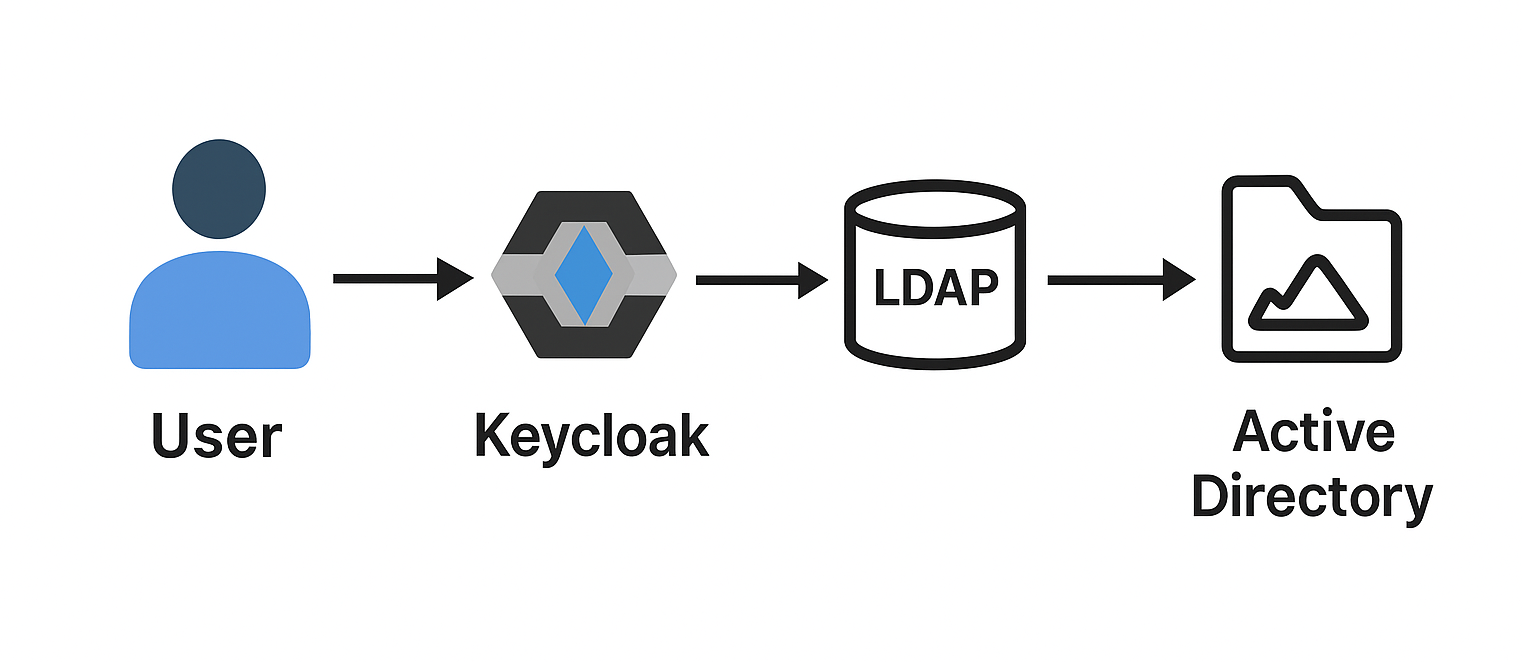
In modern enterprises, centralized user directories are the backbone of identity management. Whether it’s Active Directory (AD) in large corporations or an LDAP server in smaller setups, the goal is simple: a single source of truth for user identities, used across networks and applications.
However, AD by itself is not a full IAM solution. This is where Keycloak comes into play: it acts as a layer that allows applications to leverage these identities for authentication and access management, while also providing the flexibility to enrich tokens with custom attributes from AD.
For example, your service might require a custom claim such as employee number or department in the JWT token. This is a common enterprise use case: users are centrally managed in AD, but applications require customized identity information for authorization, auditing, or business logic.
In this blog post, we will walk through a practical example of how to:
- Integrate Keycloak with LDAP/AD user federation
- Map AD attributes to Keycloak user attributes
- Expose these attributes as custom claims in tokens
Get ready to dive into LDAP mappers, protocol mappers, and migration scripts, demonstrating how a real-world enterprise scenario can be fully automated and production-ready.
Integrate Keycloak with LDAP/AD user federation
Before you can map attributes or issue custom claims, Keycloak must connect to your LDAP/AD server. This is called user federation. Keycloak reads users directly from LDAP/AD server without duplicating passwords or managing accounts manually.
LDAP (Lightweight Directory Access Protocol) is the standard protocol used to query and interact with directory services like AD. It provides a structured, tree-like way of storing and retrieving information about users, groups, and resources in an enterprise network.
-
Add a user federation provider
- In the Keycloak admin console, go to user federation
- Click add provider and select ldap
-
Configure the connection
Fill in your directory’s details to establish the connection:
- Connection URL:
ldap://<your-ldap-ad-server-url> - Bind DN & Credentials: Dedicated service account’s login credentials. Keycloak uses this account to authenticate with LDAP/AD server and gain read-only access to user data.
- Users DN: Base path in your LDAP or AD where Keycloak begins its user search. It’s like giving Keycloak a specific street address, such as OU=Users,DC=example,DC=com, to focus its search and improve performance.
- Vendor: Select Active Directory.
- Username LDAP attribute: This field defines the attribute in your LDAP or AD that Keycloak should use as the username for authentication. For AD, this is most often sAMAccountName.
For better performance, set Import Enabled to true to cache users locally in Keycloak.
- Connection URL:
-
Test the connection
- Click test connection to ensure Keycloak can communicate with LDAP/AD server
- Click test authentication using the bind DN credentials to verify authentication works
-
Sync users
- After a successful connection, run a full sync to import all users from AD
- Check that users appear in Keycloak’s users section
At this point, Keycloak knows about your AD users, but only basic fields like username, first name, last name, and email are available. Next, you can proceed to map additional AD attributes to Keycloak user attributes.
Note: You can fully automate all of this using Keycloak migration scripts as well. For more details and examples, see the official Keycloak Server Migration documentation.
Map AD attributes to Keycloak user attributes
Once AD users are visible in Keycloak, the next step is to bring in custom attributes from AD (e.g. employeeNumber, department…). By default, only a few basic fields (username, email, etc.) are mapped, so you need to explicitly configure LDAP mappers.
LDAP mappers define how attributes from AD are translated into Keycloak user attributes. For example, you can take the AD attribute departmentNumber and store it as a Keycloak user attribute called department.
- Add a new LDAP mapper
- In the user federation screen, click your LDAP provider
- Navigate to the Mappers tab
- Click Create
- Configure the mapper
- Name: A descriptive name (e.g. department_mapper)
- Mapper type: user-attribute-ldap-mapper (most common choice)
- User model attribute: Name of the attribute inside Keycloak (e.g. department)
- LDAP attribute: The attribute from AD (e.g. departmentNumber)
- Always read value from LDAP: Useful when you want to ensure Keycloak doesn’t cache stale values
- Save and sync users
- After saving, re-run a sync to import or update attributes
- Open a user in the Keycloak console and check that the new attribute is present
This mapping step is crucial, because only attributes available on the Keycloak user model can later be exposed as claims in tokens via protocol mappers.
Expose these attributes as custom claims in tokens
Now that Keycloak has imported your AD attributes into its user model, you can make them available inside access tokens (JWTs) so that applications can consume them. This is done through protocol mappers.
Protocol mappers define how Keycloak includes user data in issued tokens. For example, you can expose a user’s department attribute from AD as a claim inside the access token.
-
Navigate to the client
- In the Keycloak admin console, go to clients
- Select the client that needs the custom claim
-
Add a new protocol mapper
- Go to the mappers tab
- Click create
-
Configure the mapper
- Name: Descriptive name (e.g. department_claim)
- Mapper type: user attribute
- User attribute: The Keycloak user attribute you want to expose (e.g. department)
- Token claim name: The JSON field in the token (e.g. department)
- Claim JSON type: string (or another type if needed)
- Add to access token: enabled
- Add to ID token / userinfo: Optional, depending on your use case
-
Test the tokens
- Log in with a user from AD who has the attribute
- Decode the issued access token (e.g. using jwt.io)
- Verify that the claim (e.g. “department”: “Engineering”) is present
This is the final step that allows your applications to make authorization decisions or apply business logic based on AD attributes delivered securely in tokens.
Note: Just like federation, LDAP mappers can also be fully managed via migration scripts (addAdLdapMapper). For details and YAML examples, see the migration scripts documentation.
Conclusion
By combining LDAP/AD federation, LDAP attribute mappers, and protocol mappers, Keycloak becomes a powerful bridge between your enterprise directory and modern applications. With this setup, attributes like department or employeeNumber seamlessly flow from AD into Keycloak tokens, enabling fine-grained authorization, auditing, and business logic without custom code.
Even better, the entire process can be automated with migration scripts, ensuring consistency across environments and deployments. This makes your identity layer both scalable and production-ready.